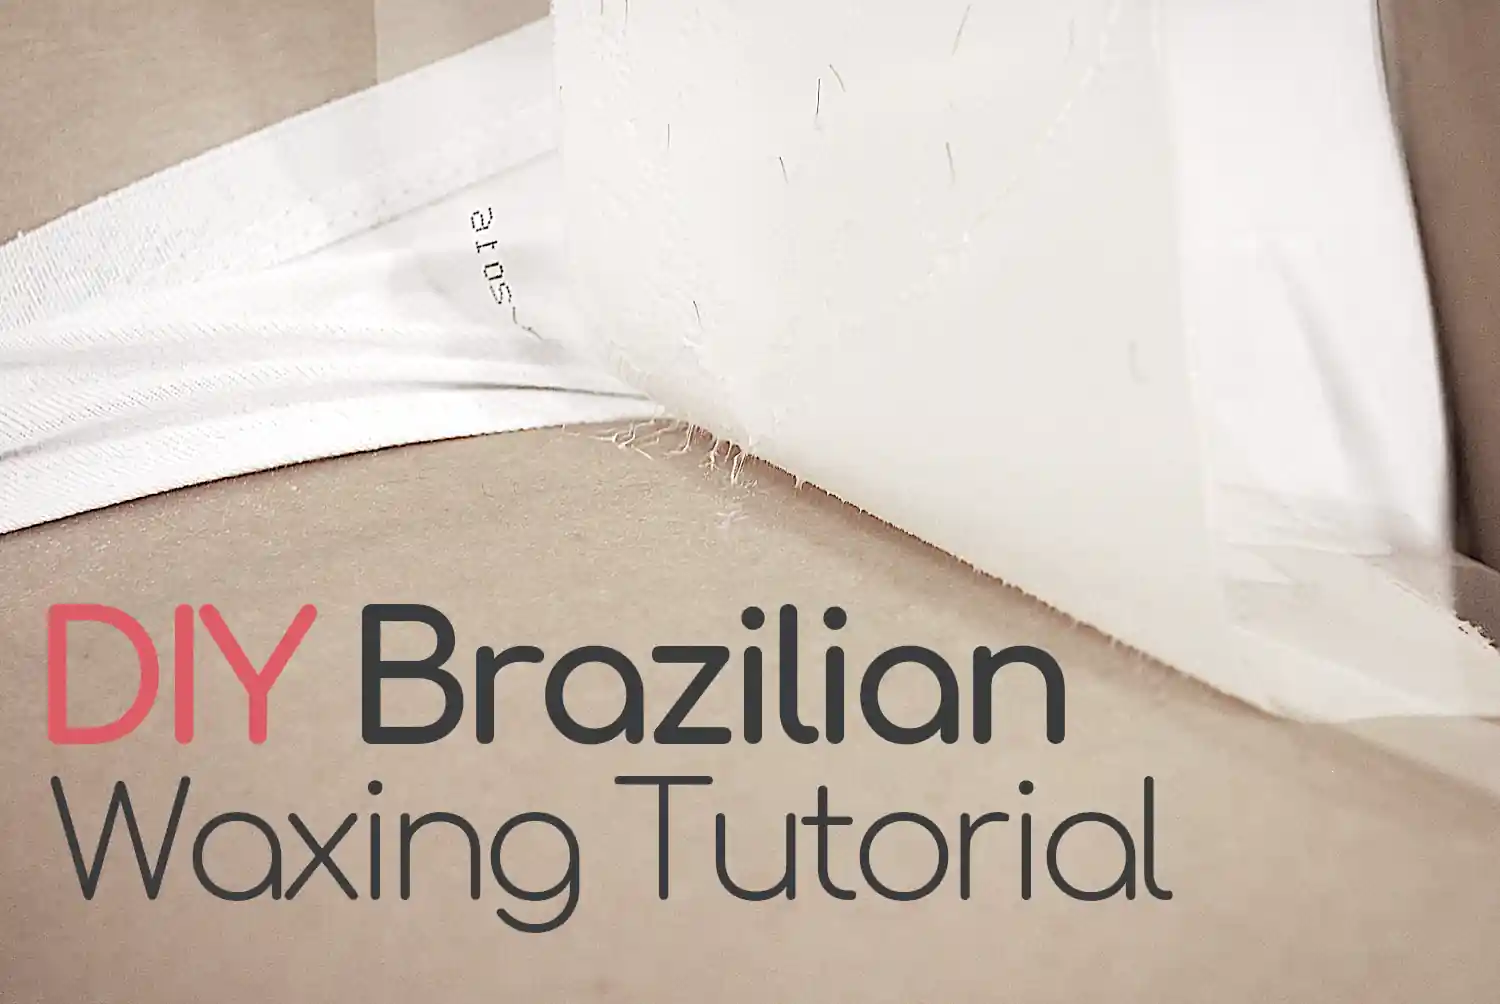
If you are seriously considering doing your own Brazilian waxing at home, there are a few important things that you should know and we’ll cover all of them in this DIY Brazilian wax tutorial.
Brazilian waxing is one of the most popular and most talked about hair removal methods. Every woman has an idea what it is, whether she’s had one or not. Whether you remove all or just part of the pubic hair.
Now, it’s time to see if you can do it by yourself at home or not. I hope this DIY wax tutorial for the intimate area will be of great help.
Contents
DIY Brazilian Wax Tutorial: Best Waxing Kits
1. Best Hard Wax for DIY Brazilian Waxing: Cirepil The Original Blue Wax Beads
The Cirepil The Original Blue Wax Beads is not actually a kit but more of a bag full of blue wax beads but those beads melt into the best hard wax, the type that sticks to the hairs and not to the skin and, most importantly, the type that handles all types of hairs, which is extremely important when it comes to Brazilian waxing.
2. Hard Wax Kit with Warmer: Gigi Kit
Another kit that I want to recommend in my DIY Brazilian wax tutorial is the one from Gigi. The major advantage is that it also includes a warmer, the hard wax, spatulas, and some lotions to be used post waxing. It’s a complete kit for at-home waxing but it can be a bit pricey. However, if you want a cheaper deal you can buy two separate things: the Gigi wax warmer and the Gigi All Purpose Honee Hair Removal Wax, 8 oz. Buying these 2 separately is cheaper than buying the complete kit with warmer.
What Exactly is Brazilian Waxing?
Simply put, it’s the removal of everything down there and I literally mean everything. It’s a totally hair-free bikini area plus the back area.
It’s totally different from a bikini line hair removal.
Having those lines silky smooth, without any traces of hair, has been the new normal for a long time for us women.
Having it all removed is not only incredibly painful for the first few times, but it also takes some courage. It will change a little the way you see yourself.
You might love it, like it, or totally hate it.
I had my first Brazilian wax when I was an adolescent. I didn’t have it all removed. I asked the beautician to leave a strip so that I wouldn’t feel totally naked.
I loved it and kept at it. I just love seeing my body without any hairs. That’s why the pain it totally worth it from my point of view.
And I kept it like that for many years until I decided to remove it all. To go totally bare.
DIY Brazilian Wax Tutorial in 4 Steps
I don’t advise that your first experience with going absolutely hair-free down there should be something you do all by yourself.
Why is that?
Simply because it’s really painful. You might not have the courage to pull the strips in a quick non-hesitant move.
If you don’t want a beautician to show you how things are done, then you should ask a friend who already knows how things should go.
Step 1: Buy a Good Hard Waxing Kit
The Cirepil The Original Blue Wax Beads is not exactly a waxing kit since it’s only a bag full of wax beads but it is my first recommendation if you want to do your own Brazilian waxing at home.

It’s just perfect for that.
And it can be handled by both beginners and more experience users.
DIY Brazilian wax tutorial with Cirepil wax
- this is hard wax in the form of beads – hard wax is the best wax for Brazilian waxing at home, it’s what beauty salons use, as well
- hard wax is applied in thick small strips of wax and then left to harden
- it’s best to apply it in small strips because the pain is less intense and it’s easier to pull them quickly and without any pause
- the strips need to be pretty thick, about the thickness of a nickel
- once it’s cooled down and hardened, it’s pulled by using just the fingers
- the Cirepil wax hardens quickly, that’s very good for our patience
- you don’t need muslin strips, just sticks to spread the wax with
- the other great ability of the Cirepil wax beads is that the wax only sticks to the hairs and not to the skin
- it makes things slightly less painful
- and it’s less messy with not a lot of wax residues left behind
- it also works on all types of hairs: short, shaved, long, soft or coarse
It’s pretty much everything you might need and want.
How do you melt the wax beads?
The manufacturer recommends getting the Cirepil Heater. It’s a pretty expensive heater so, if you aren’t sure about spending the money on it, there are a couple of other alternatives.
Melting them in the microwave works, just make sure that the temperature is not too hot before using it for your own Brazilian waxing at home.
Place about half a cup of beads in the microwave for a couple of minutes and see if they are completely melted.
You can also melt them by placing the beads in a jar and then putting the jar in a pot with simmering water. The water should surround the beads, which are safe inside the jar so don’t fill the jar to the brim. Start with it half dull.
Where to Buy?
Check Price & User Reviews Here
Step 2: Preparation
We’ve reached the step in this DIY Brazilian wax tutorial where you have to get the intimate area ready. Doing your own Brazilian waxing at home will save you some good money.
Apply talcum powder for making sure that the skin is really dry. It must be that way so that the wax can stick to the hairs and when you pull, they will be removed from the root.
You can also use a pre-epilating oil.
It’s actually better to use a pre-epilating oil if you’re using hard wax.
Also, and this is very important,
The hairs should be at least 1/4 inches long.
If it’s too long, trim it a little because it might break at the surface of the skin and it will also be a lot more painful.
Step 3: Applying the Strips
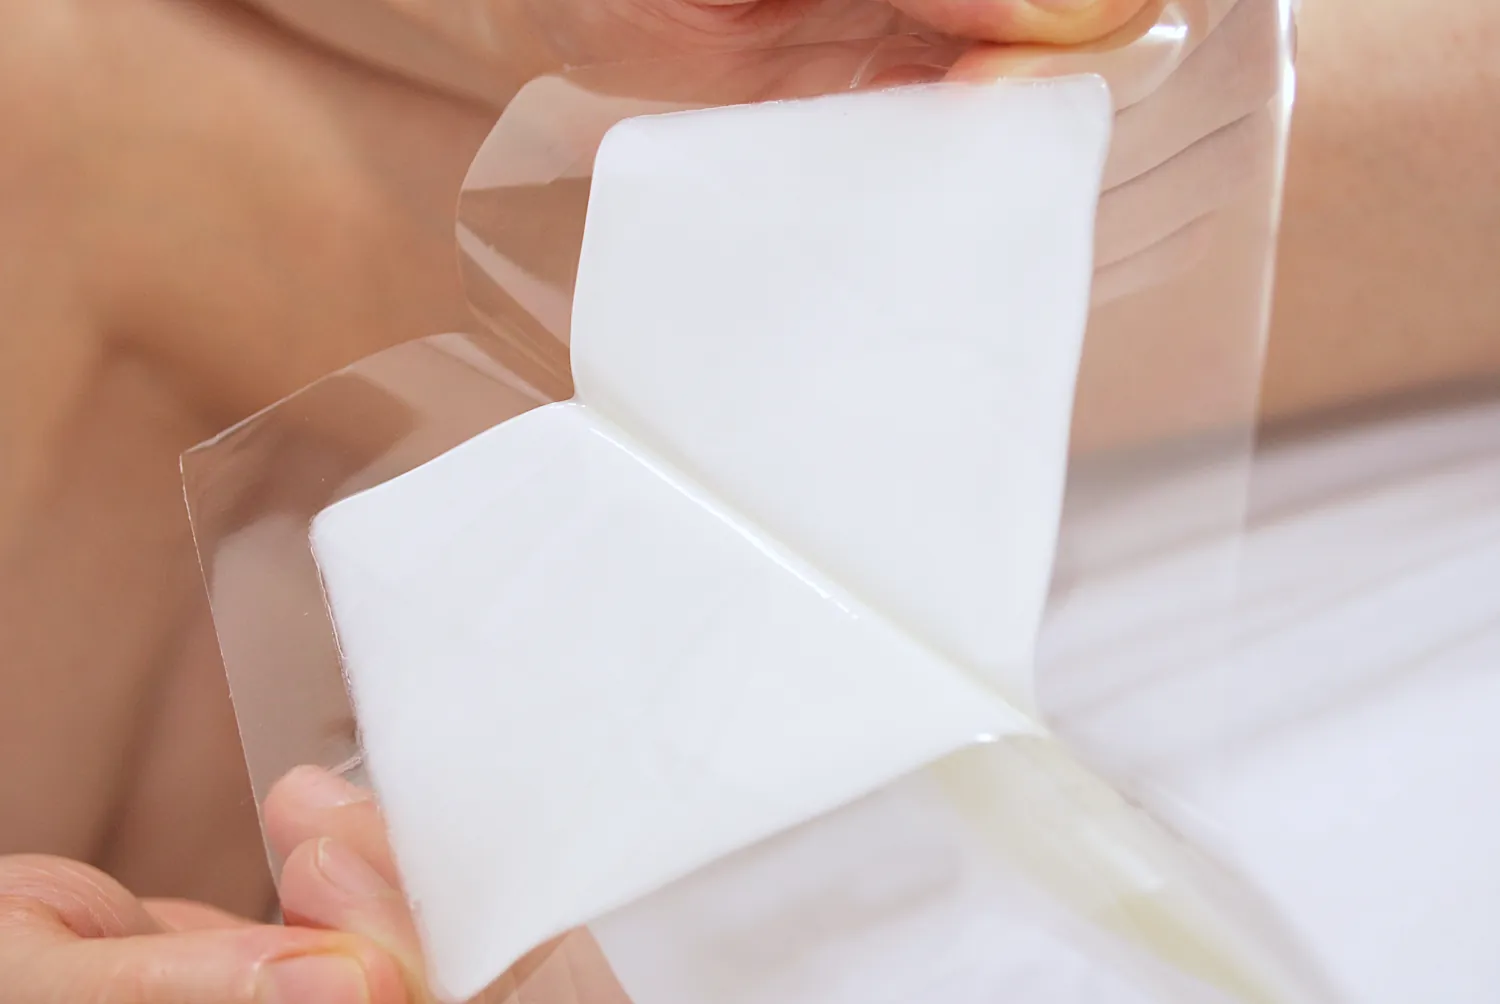
This is were the action in our DIY Brazilian wax tutorial actually begins.
It’s time to apply the hard wax for your Brazilian waxing, which must be heated and melted.
Once it’s melted and fluid, test it on your palm to make sure that it’s not too hot so you don’t burn yourself.
Begin near the navel and work your way down.
Since this is a very sensitive area, applying smaller strips might be the best way.
It will take longer but it will also be less painful.
Apply the strip in the direction of the hair growth, wait until it has hardened up, and then pull the strip in the opposite direction in a very quick parallel to the skin move.
If you hesitate, you risk the wax sticking to your skin and not removing the hairs.
Don’t forget to keep the skin taut. Keep it stretched.
Clean the residues with oil, and use a moisturizer after each Brazilian waxing.
For reaching the places that you can’t see, use a mirror. If you are flexible, then things are going to be a lot easier.
Step 4: Exfoliate

There would not be a complete DIY Brazilian wax tutorial without mentioning exfoliation.
I recommend using the Tend Skin Solution. It’s one of the most affordable chemical exfoliators for the whole body and face.
It’s great for razor bumps and for preventing ingrown hairs.
But it can also be used immediately after waxing to sooth the skin and prevent redness or irritation.
Once 5-10 seconds have passed since you’ve applied the Tend, use a body lotion or a nourishing cream to hydrate and further sooth the delicate area.
If you’re prone to ingrown hairs or suffer from itchiness once the hairs start growing back, the Tend can help you quite a bit.
What can you do?
Wait for a few days (up to a week) after you’ve waxed and then start using the Tend Skin Solution every night followed up by a body lotion/cream.
Do that right before you need to do another Brazilian waxing at home session.
You need to moisturize the skin because this is a chemical exfoliator, which will most likely dry the skin out.
The main ingredient for this one is acetylsalicylic acid (aspirin) and it’s one of the best chemical exfoliators for the body and for razor bumps.
Where to Buy?
Check Price & User Reviews Here
Why I Switched to Epilation Instead of Waxing
From my point of view, epilation is a lot easier and it saves a lot of money.
Using an epilator to remove all the hair from the bikini area is a lot easier because I don’t have to look at what I’m doing. At least not so often as you do it when you apply the strips.
I can feel the hairs and their growth direction with my hands.
I’m also flexible. It helps a great deal to be flexible.
I’ve also gotten used to it so that’s probably why it seems so easy now, after so many years.
Don’t get me wrong, even if you don’t want to use an epilator, it’s still more affordable to do your own Brazilian waxing at home.
Most of my friends had appointments to a waxing salon and they all talked about it. I was late in joining the party but eventually it had to happen. And I don’t regret it.
But you might not like it.
So, before going to a salon, think things through.
Otherwise, you will experience some unnecessary pain and then you will go back to trimming or shaving it just on the lines. And that’s totally fine.
Brazilian waxing is not something you must do, it’s something you opt to do.
Or not.
It’s very painful, extremely so.
Everyone should seriously consider if going through all that pain is completely worth it or not.
Final Thoughts
You can do the whole being totally hair-free routine once a month or once every 3 weeks. With waxing it’s a bit more complicated because you have to wait for the hairs to grow a little.
Since I’m using an epilator, I can plug it in whenever I want. In the summer, I remove the hairs from my body and face at least once every two weeks.
And that’s how you give yourself your first Brazilian waxing at home, what do you thing, would you do it after reading my DIY Brazilian wax tutorial?


